
This post will be focusing on the initial set up involved when creating your very own IdentityIQ instance.
The entire process of getting your instance up and running will take approximately 20 minutes providing you already have your environment setup.
Getting Started
I would highly suggest taking a look through the official installation guide provided by Sailpoint for additional information. I will be trying to keep this post short and sweet with just enough information to get your own IdentityIQ instance up and running.
Environment Setup
This guide will be showing you how to install using the following software installed on the environment.
- CentOS (7.7)
- Oracle Java JDK (1.8.0_241)
- MySQL (5.7 community server)
- Apache Tomcat (version 8.5.54)
Step 1: Download IdentityIQ
Head to the Sailpoint community website and navigate to the IdentityIQ Server Software section.
IdentityIQ version 7.3 can be found here.
Download the zip archive and upload this to a temporary location within your server using your favorite file transfer method (SCP, FTP, etc).

Unzip the archive
unzip identityiq-7.3.zip
Step 2: Setting up Tomcat
Create a new folder for IdentityIQ within your Tomcat webapps directory. The location of the Tomcat webapps folder on my server is /opt/tomcat/webapps
Create a new folder called identityiq
mkdir /opt/tomcat/webapps/identityiqCopy the IdentityIQ WAR file to this folder
cp identityiq.war /opt/tomcat/webapps/identityiq/Change directory and then inflate the WAR file
cd /opt/tomcat/webapps/identityiq/
jar xvf identityiq.war
Step 3: Database Setup
We must now configure IdentityIQ with our database settings and import the initial tables required.
Prerequisites
Please ensure you have the following in place:
- Create a new user for IdentityIQ
- Create two databases called “identityiq” and “identityiqPlugin“
- Ensure the newly created user has access to the new databases mentioned above
Configure IIQ Database Settings
IdentityIQ stores the database password in an encrypted format by default which means the first thing we need to do is encrypt our database password using the IIQ console.
We shall start by changing the permissions to the IIQ console file.
chmod +x WEB-INF/bin/iiqWe will then use the IIQ console to encrypt our database password.
Please ensure you change the command to reflect your password.
WEB-INF/bin/iiq encrypt "passwordhere"
Edit your IdentityIQ properties file (iiq.properties) using your favourite editor
vi WEB-INF/classes/iiq.propertiesYou will now need to follow the instructions in this file to ensure you successfully set the configuration for your database server. In this post we are using MySQL and so only a few fields needed to be set/changed.
If you are using MySQL as your database provider, look for the following fields and set them appropriately:
- dataSource.username – This is your database user
- dataSource.password – This is the encrypted password
- dataSource.url – This is the JDBC connection URL
Insert initial data
We now have IdentityIQ configured to use our MySQL server. The next step is to import the initial tables required for a working IdentityIQ instance.
Generate Database Scripts
WEB-INF/bin/iiq schemaPlease note: The following instructions may be specific to MySQL.
Import database script into MySQL database
cd WEB-INF/database/
mysql –u sailpoint –p

<<enter password>>
Change database
use <<databasename>>;Import tables via database scripts generated earlier
source create_identityiq_tables.mysql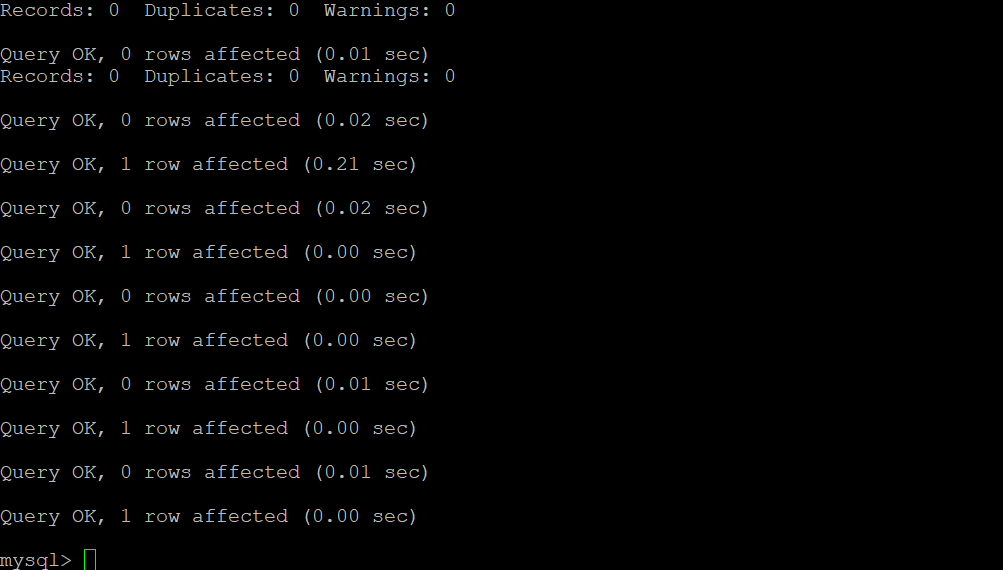
Step 4: Start Tomcat and Test
We have successfully managed to download, install and configure IdentityIQ on our server.
The final step is to ensure everything is working.
Start your Tomcat server and navigate to:
https://<<yourtomcatserver>>/identityiq
If you see the below screen, well done! You have successfully installed IdentityIQ.

Troubleshooting
Unfortunately, I will not be going in-depth into troubleshooting steps since the installation is fairly straightforward and most issues are during the setup of your environment. I will however point out some useful log locations where you should initially start your investigation.
Tomcat Log (may vary based on your installation): /opt/tomcat/logs/catalina.out
Global System Messages (may vary based on your environment): /var/log/messages
Is there a way to download some exercise books for SailPoint IIQ7.3?
Hey Anurag – It is my understanding that you can only download training material directly from SailPoint for which there is a charge. When I originally started with IdentityIQ I was shocked there was not more material available on the internet which is why I have decided to start a series on it 🙂 If you have any suggestions on what should be covered, feel free to drop another comment!
I think you should cover some automatic provisioning part as there is not much help available on that topic over the internet.
Also I wonder if I was to find some documents for learning purpose.. where would I find them? Compass is just not the option considering the huge price.
Yes, I will be moving onto automatic provisioning fairly soon. My plan was to slowly progress from installation to more complex topics like automated provisioning and using the built-in API whilst checking off everything in between.
Honestly, I do not think there are many places you can find documents for learning – Compass and the training courses SailPoint offer is all I am aware of… you could maybe try YouTube…
Thanks for your feedback Anurag – feel free to subscribe to the blog to be emailed regarding new posts 🙂